
| I thought this was a neat little trick for moving your battery (to make room in your engine bay), without splicing and changing any wires. In addition, it doesn’t put any weight in back of the car. It keeps the weight over the front end. I have done this on 4 different cars, with various size batteries. In this one, I used a Sears tractor battery (340 cold crank amps). I use it on my daily with no repercussions. But I have also used a stock battery, a Honda battery and an even smaller tractor battery (for race app). All applications fit fine. AND ALL DISCLAIMERS APPLY! I'm not responsible if you short your car out and start a fire and burn down your garage and the fire contiues on to your house........you're on your own. This is basically what I have done. Well, of course, first thing to do would be to remove the battery (duh) and intake; 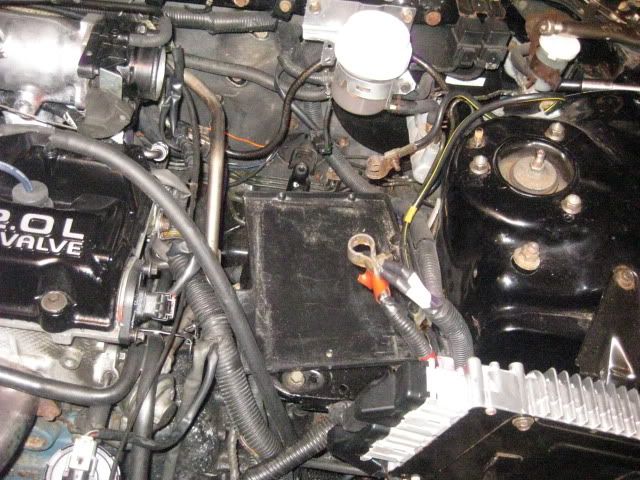 I want to take a moment here to make mention of CAI’s. If you have a CAI that is run down to the bottom of the front bumper, you would have to figure something else out. Because of where the battery is going (at the spot where the old stock intake would go through the body), you would either need to get a SRI (short ram intake) or figure out how/where you would like to redirect your piping. Now that you removed your intake, that would leave you with the stock metal bracket on the inner well; 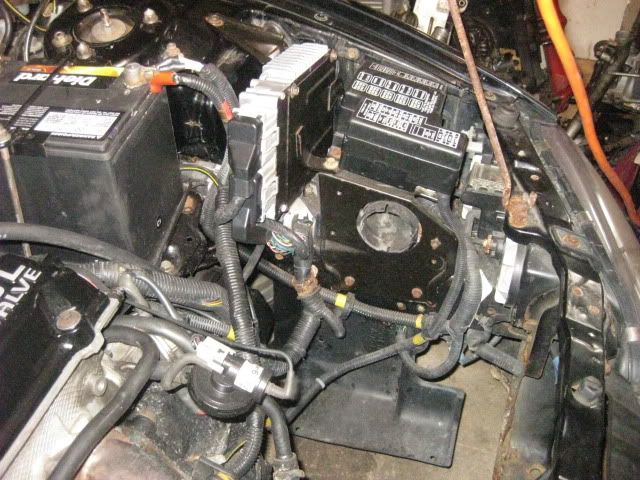 Remove the fuse box from the bracket by unbolting the 4 bolts that hold it on (kinda self explanatory but here's a pic;  Then unbolt the 5 bolts for the support and remove it; http://i215.photobucket.com/albums/cc177/mbullett/98%20daily%20mods/Battery%20relocation/IMG_2119.jpg If you want to bolt the fuse box back on (which I’m not doing because of other things I’m doing) then you can bolt it back on to part of the bracket by taking out a couple of bolts in the bracket. No pic, but it will be self-evident which bolts. And reinstall. You can alter the bracket however you want, but just be sure that you leave the “frame†wall open for mounting the battery. Now pop off two wire management wires (down by the yellow wrap on the conduit); 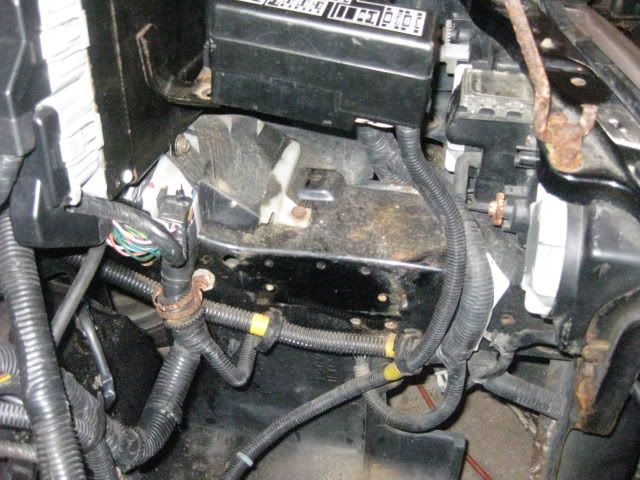 Un-bolt and remove wire management for wires into ECU; 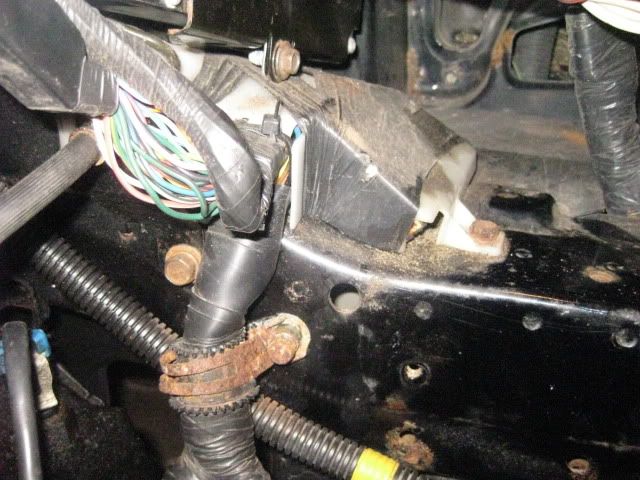 That will make some room. Then go to the battery tray and pull out the plastic tray and 4 bolts that hold the metal part on; 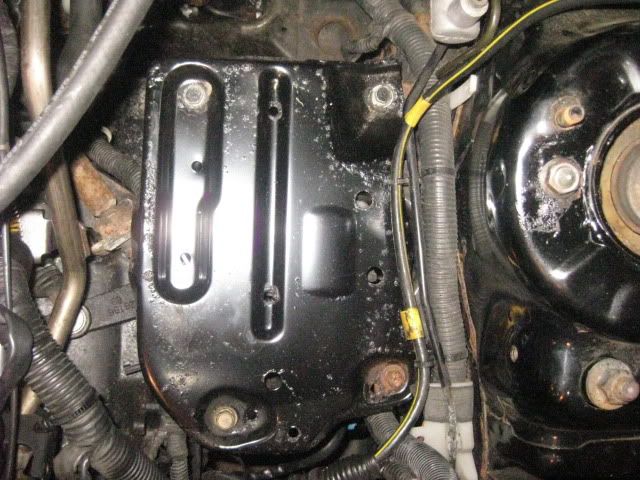 Also, take out the two support arms that hold the tray up; 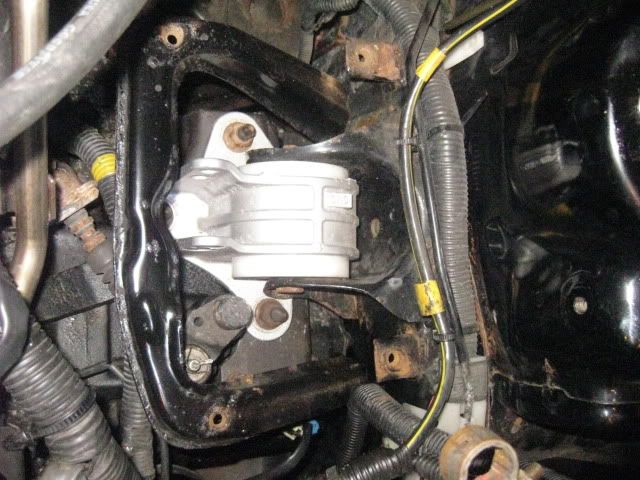 Pull the pieces out and rejoice! 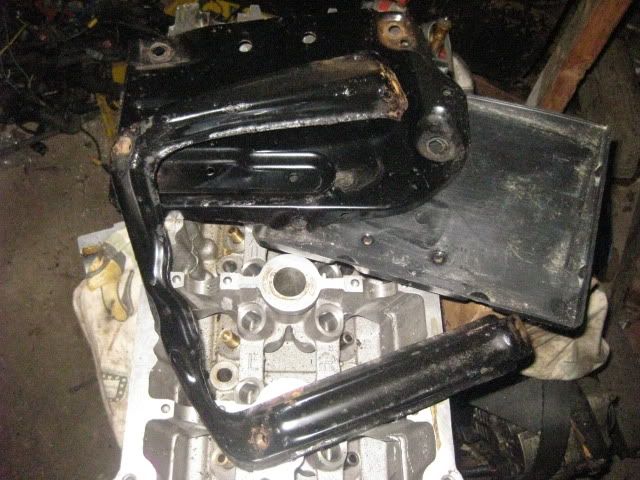 Look at all the room! 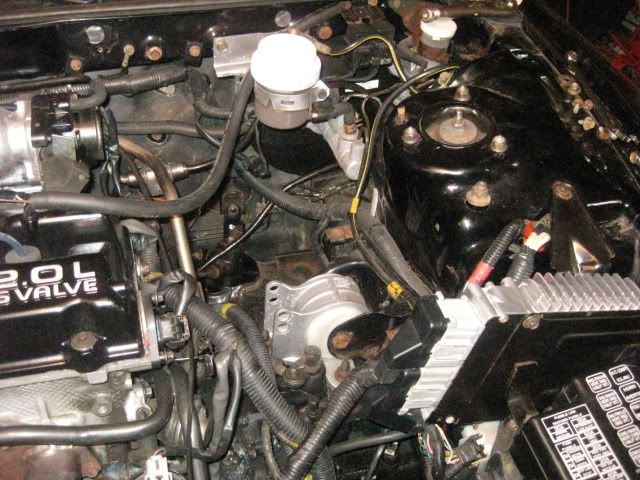 Now to start freeing up your wires; first nip this wire management (its kinda hard to see. Just above the reverse switch. You’ll get the idea); 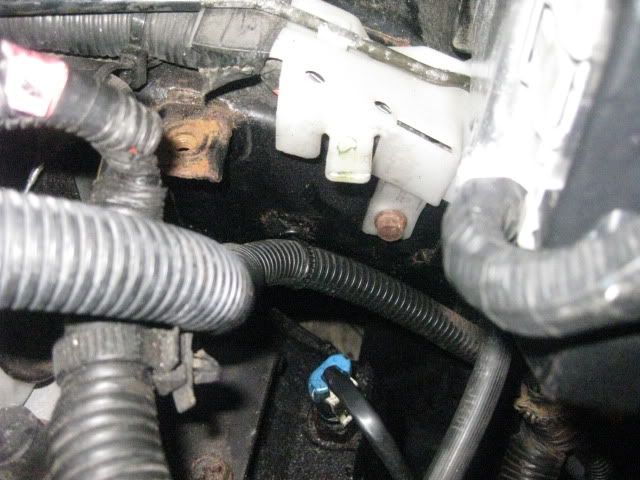 Free up the negative wire by undoing the wire management;  And body bolt;  Now the clutch line is in the way to bring all the wires over nicely;  You can either leave it that way (and just pull it over/around the line), or you can unbolt the wires so you can pull them through the opening. If you want to unbolt it and pull it through (which I did), there are four points of disconnect. Two on the starter, one at the bellhousing, and one electrical plug (I tried to take seperate pictures of each location, but ti was too crowded and confusing. So I isolated the wire itself and you can see each connector on there);  When you disconnect those, thread the wires under the hydraulic line and behind the main harness on to the ECU; 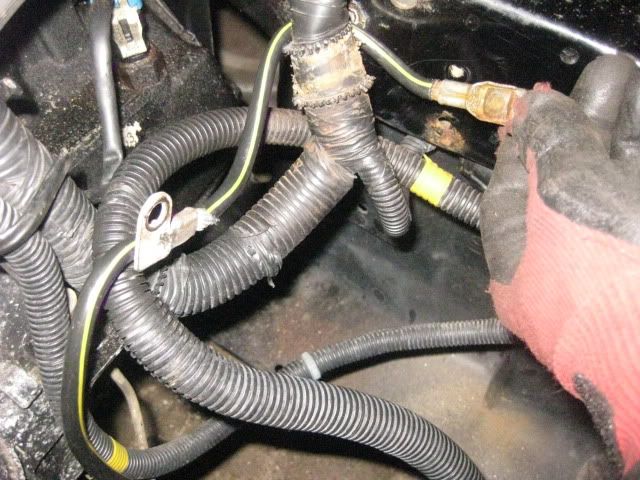 (yeah, I bet you can see that really well ;-)) (yeah, I bet you can see that really well ;-))That leaves you with plenty of wire to play with;  Now bolt them back up and you can see how the wires are now clear; 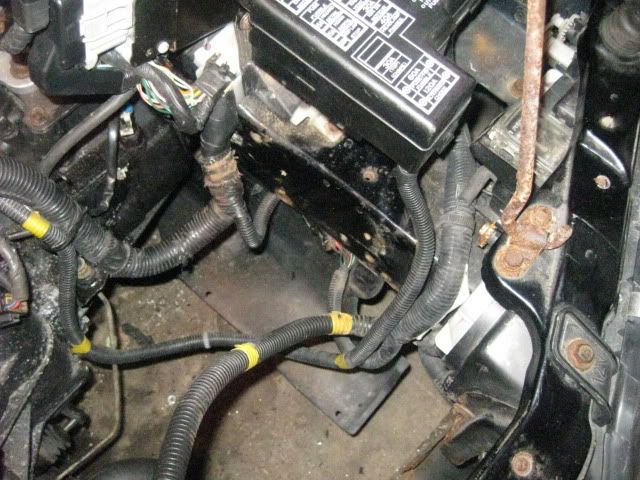 LOCATING AND MOUNTING THE BATTERYNow its time to mount the battery. As you can see from this pic;  the stock battery will fit fine there. As I said previously, on this one I am using the tractor battery;  First you need to support the battery. There are relocation kits out there that you could buy that would allow you to just bolt the plate and strapping on and go, but those are pretty pricey and I don’t know if they are even available for the stock battery size. So because of cost and availability, its time to look in your junk pile. I found this;  I sized it up;  And cut it;  Now you just need to attach it;  On my “frame†I have a few welded nuts already there for other bolts. I lined up my support piece with two of them and drilled the holes accordingly and viola’;  You now have a support for the weight of the battery (funny how the picture makes it look real crooked. Its actually not. The top of the battery is quite even with the rest of the engine bay). Now you have to make a holding strap for the battery. For those that are unsure of how to do this, I’m going to go into a little detail on how I made one. You can use what ever you want, this is just the way I made mine. I like to use strapping from Home Depot. I grabbed this size (it was right around $5 from The Depot);  Mock your battery up and find where you are going to bolt the strapping (I found an existing welded nut again – its from previous wire management);  Do your measurement and mark your line;  Now stick the strapping into the vise like this;  And bend exactly at that point;  (try to make the bend as straight as possible. If it is not straight with the strapping, you will have to address that difference later, on the other side of the battery). I use a smooth face hammer and start the bend (all the way across) very slowly. Now measure out needed dimension for the side of the battery; 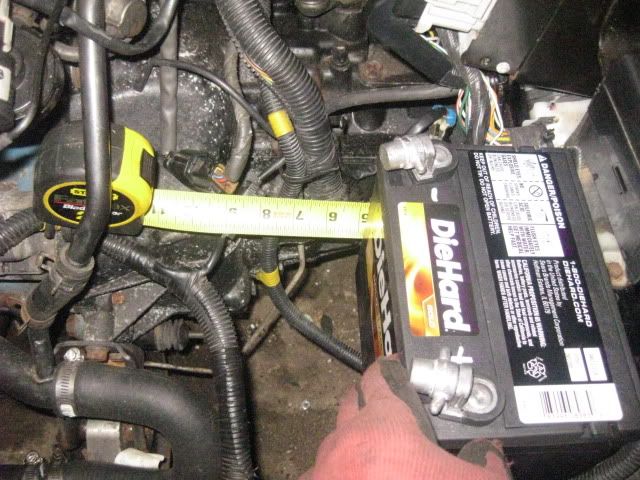 Mark it and make the bend; 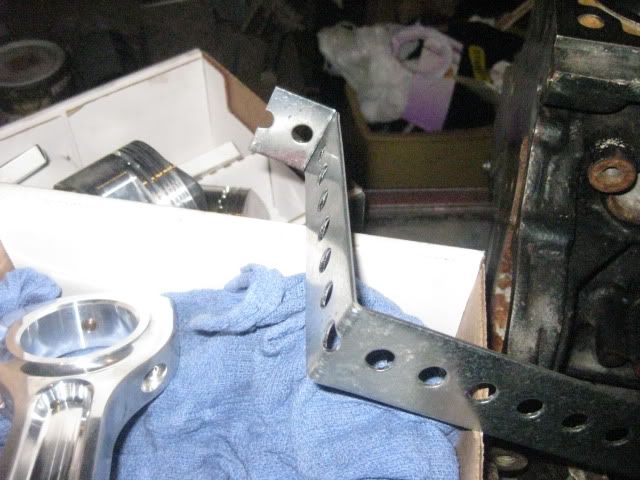 And so on until you come up with this; 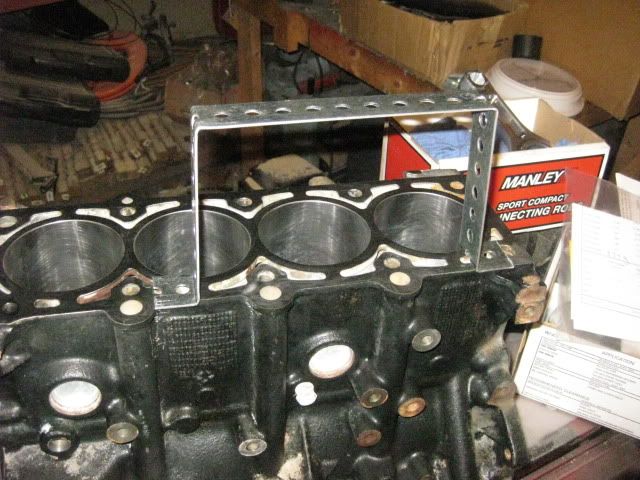 (obviously you cut the remainder off) Now that you have the bracket made, you can bolt it on. I, of course, used a bolt that went into the welded nut on one side. But on the other side, I wasn’t so lucky. I hade to make my own hole. What I used was a large “self tapper†that would tap its own way into the metal;  And here’s the bracket bolted up;  Now you need to pad the “contact pointsâ€. These are points that may wear against the battery due to vibration. While not absolutely necessary, I like to do this. I use this wrapping to pad the bracket and battery;  Its made for insulating pipes, but I find it works really well for automotive applications. Its got really good sticky face and it is hearty material. So I installed it in the corners of the bracket (where there is most likely to be wear); 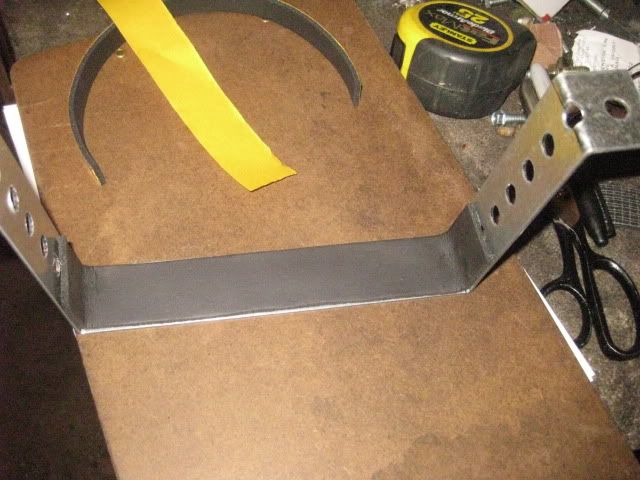 And then against the “frameâ€; 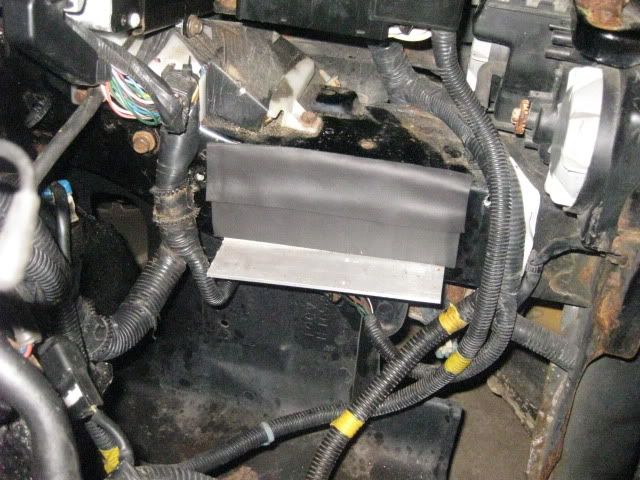 Now you can install the battery. 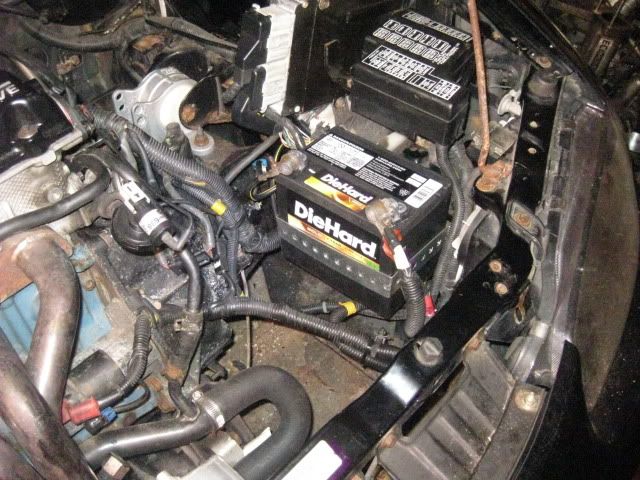 (Don't mind the wires. I'll go over them in a sec. I just forgot to get a pick of the battery installed alone. Oops) That is not “slipping outâ€. This has passed tech at the track many times. One time the techs even tried to pull it out. Ok, that just leaves us with the wires. First the negative wires (the posts on this battery were “opposite†the positioning of the posts of the stock battery. So obviously, on your battery, the negative and positive will be opposite. But you will still be able to reach with either positioning. Or you can spin the battery. Whichever works best for you). We are re-using the original wires, so first clean off the terminations. Here I am cleaning off the original ground; 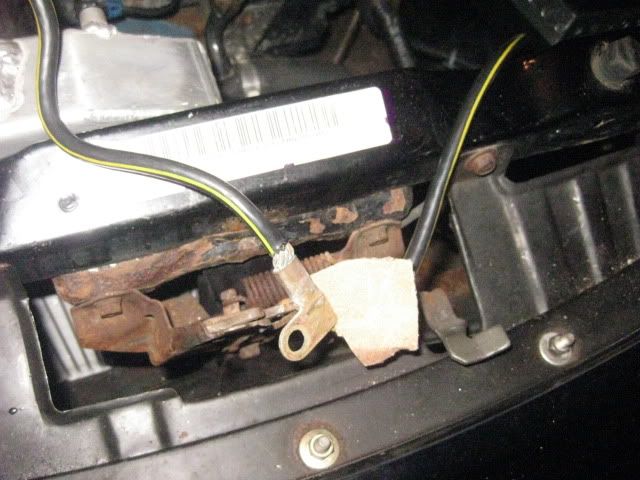 I then used this nut for the ground strap (be sure to clean paint for a good connection);  The positive just goes right on;  Now all you have to do is manage the wires as you prefer and voila’ again. Relocated battery that gives you more engine bay room;  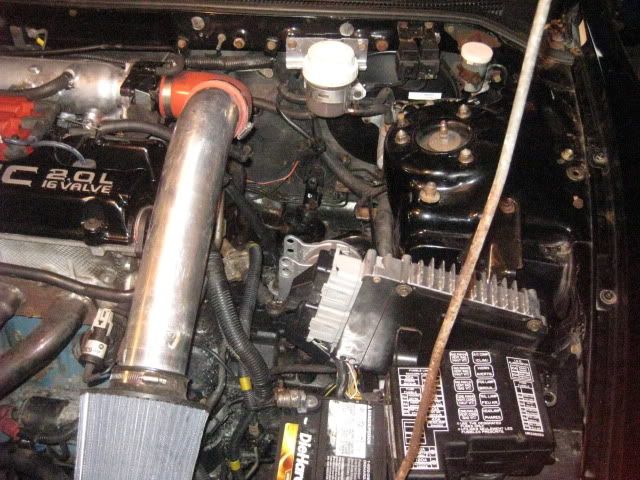 written by bullettdsm Powertrain_Maintenance |
| Document statistics: Last modified on 2012-01-26 19:17:07 by bullettdsm |
