

| This will be a bit more “down and dirty†than most of my others. I didn’t make any notes as I did this, just took some pics. So we’ll see how it goes. Psycho (on here), also did a write-up (http://aseclub.net/forums/index.php?/topic/120492-3g-eclipse-rear-ucas-lcas-and-sway-bar/), so between his and mine (and the one Green Goblin did that’s referenced in psycho’s) you should have enough info to source out the parts and do the swap. First you need to pull out the appropriate parts off your donor 3g. Here’s what I pulled off: 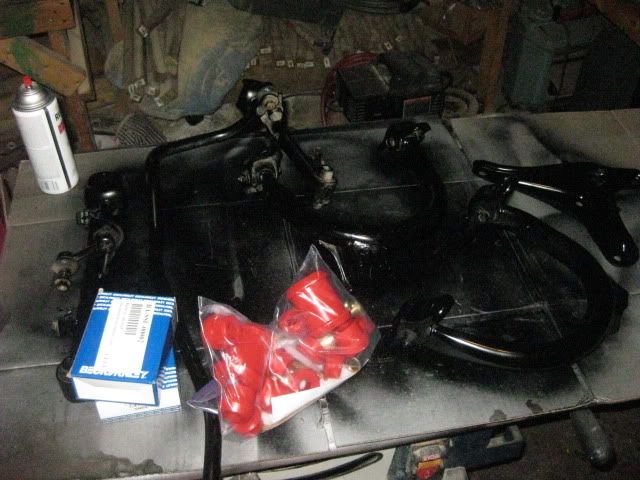 You will need the upper and lower control arms, the sway bar (with brackets and bushings), the end links (tie rod ends) and the Prothane bushings. You will see that I painted these parts and I am replacing the end links with new (why not?). You will also notice that I do not have the brackets and the bushings for the sway bar pictured. You will need them, but I ended up replacing those with some poly’s (more about that later). And don’t mind the plate pictured, it just got stuck on the table to be painted. Ok, now you need to get your parts to look like this; 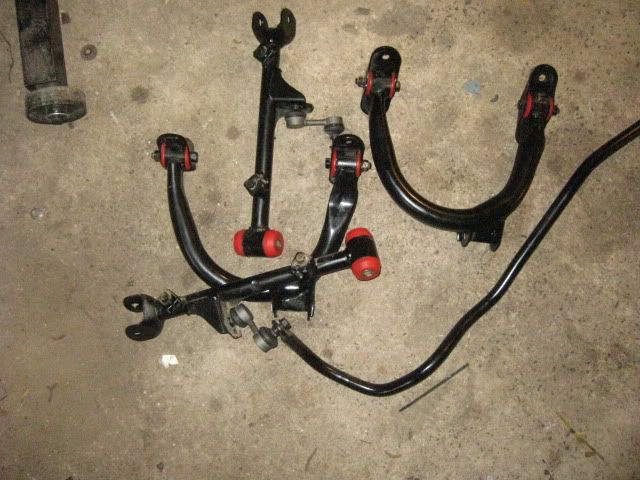 To get there, you need to take out your old bushings. Best and easiest way to do that would be to use a press; 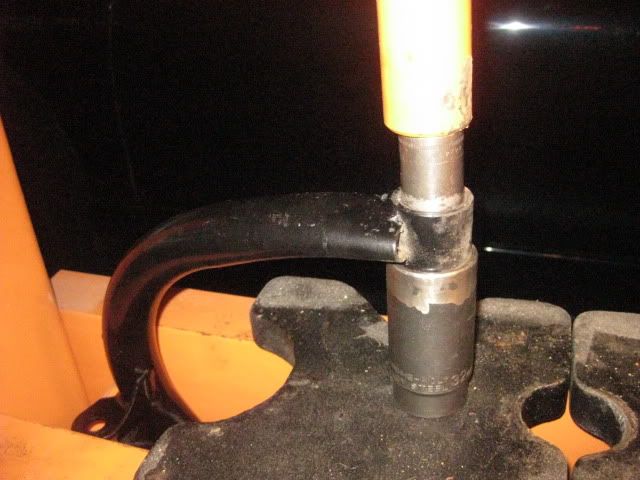 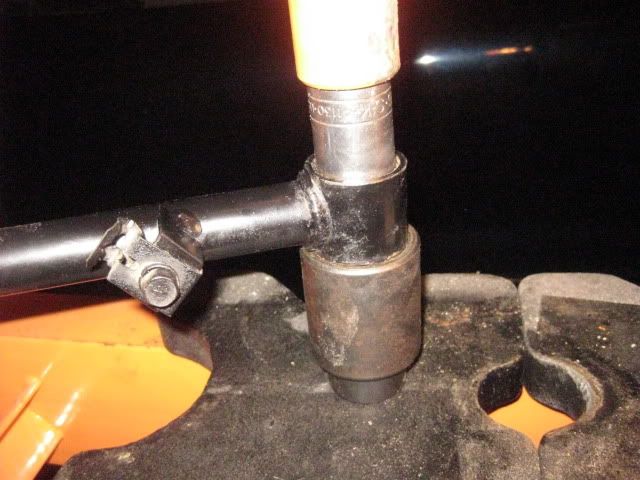 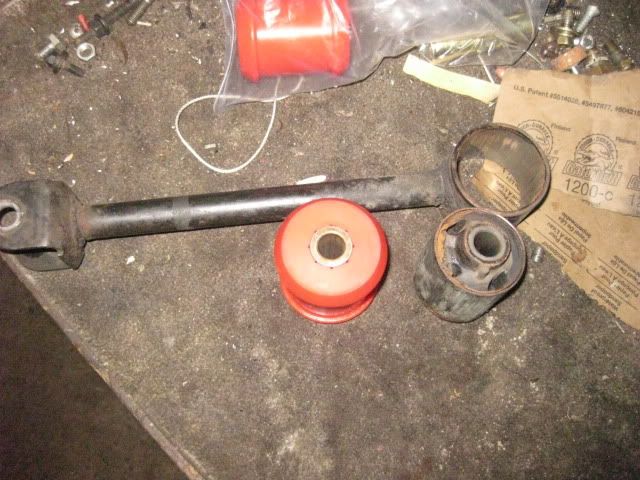 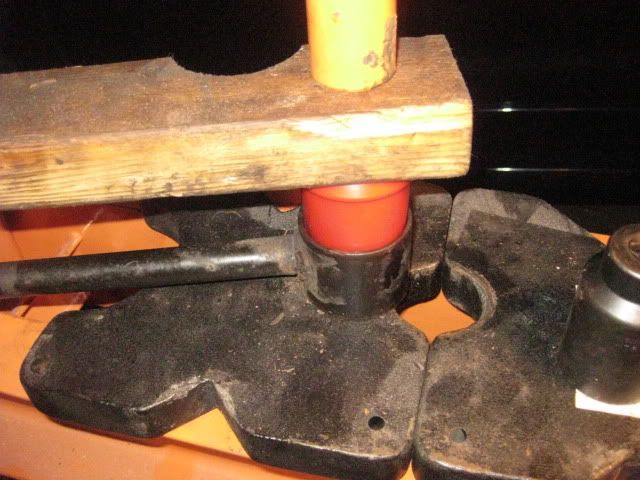 Easy Peasy with the proper size sockets/bracketry. If they give you a hard time still, you could just give them a touch of heat; 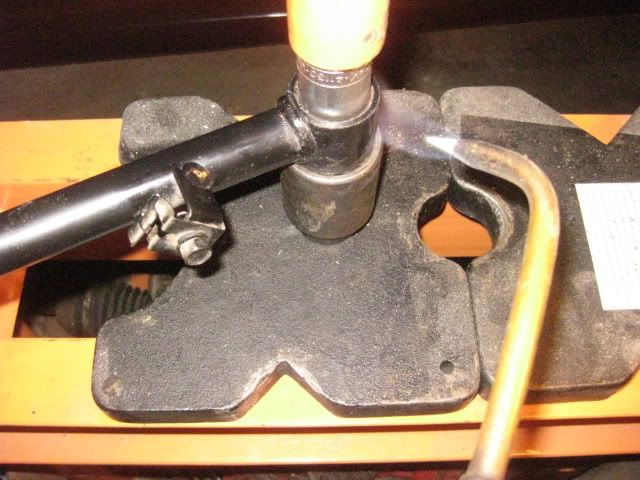 And they will just pop when they have let go. If it still is standing hard in there (and remember its not a huge amount of heat), be absolutely sure that your socket is pushing against the bushing and not the control arm itself. So what if you don’t have a press? Well, I’ll show you the process that I use, if a press is not handy or easily used. First thing I do is heat up the center sleeve. A lot of people try to put the heat to the rubber around it to melt out the rubber. This makes for a smoky mess (and it takes a lot longer). What I do is put the heat to the center sleeve itself, so the rubber around the sleeves melts as the sleeve gets hot. Then I use the vise grips to pull the sleeve out. 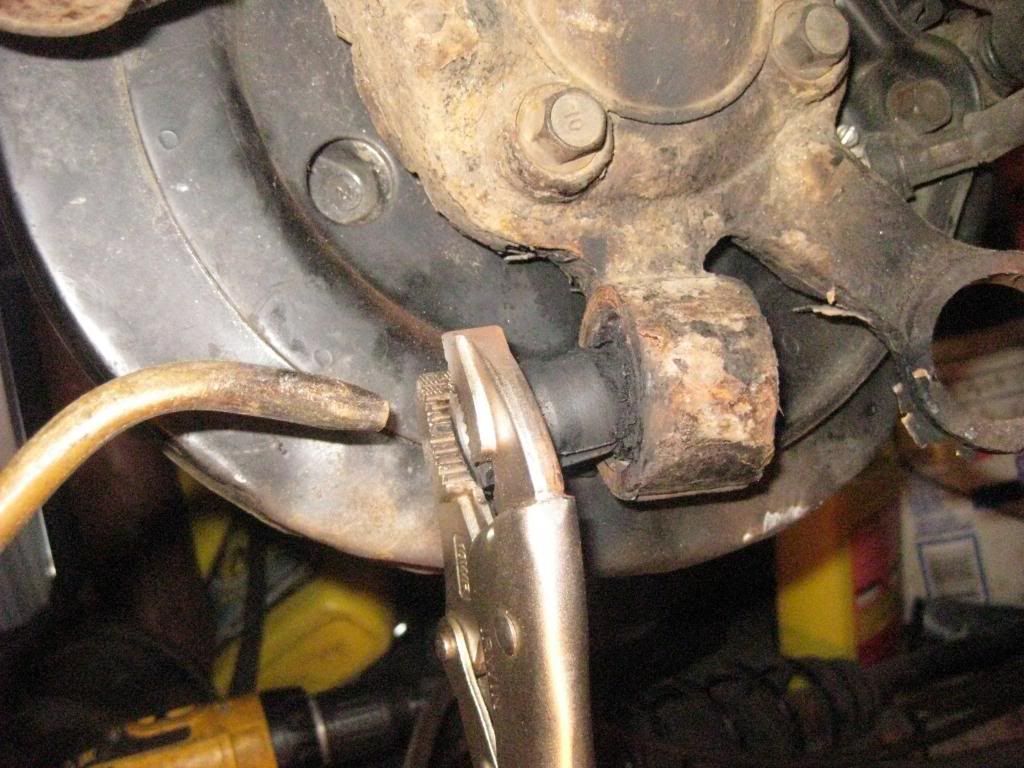 Now it is cleared out enough so that I can slip the sawzall blade in there. 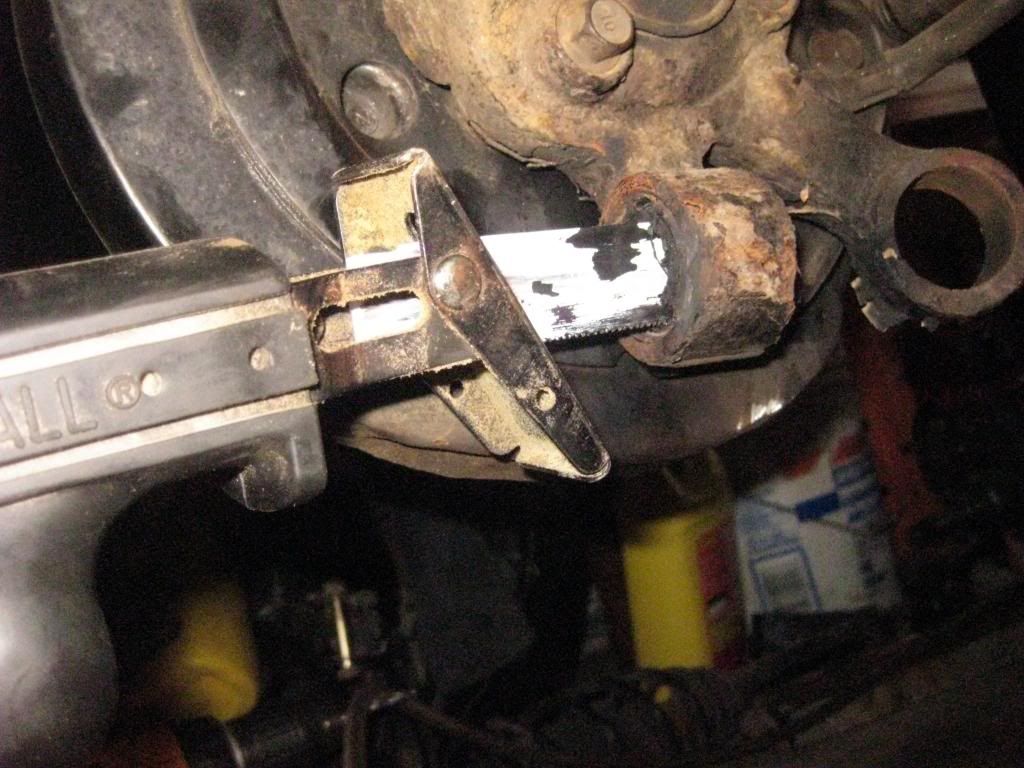 You are only cutting far enough so that the metal sleeve exterior of the bushing is cut. You do not want to cut too far and start cutting into knuckle material itself. Here is a pic of the bushing cut out and the sawzall blade (you can see the old sleeve with rubber on it above the blade) 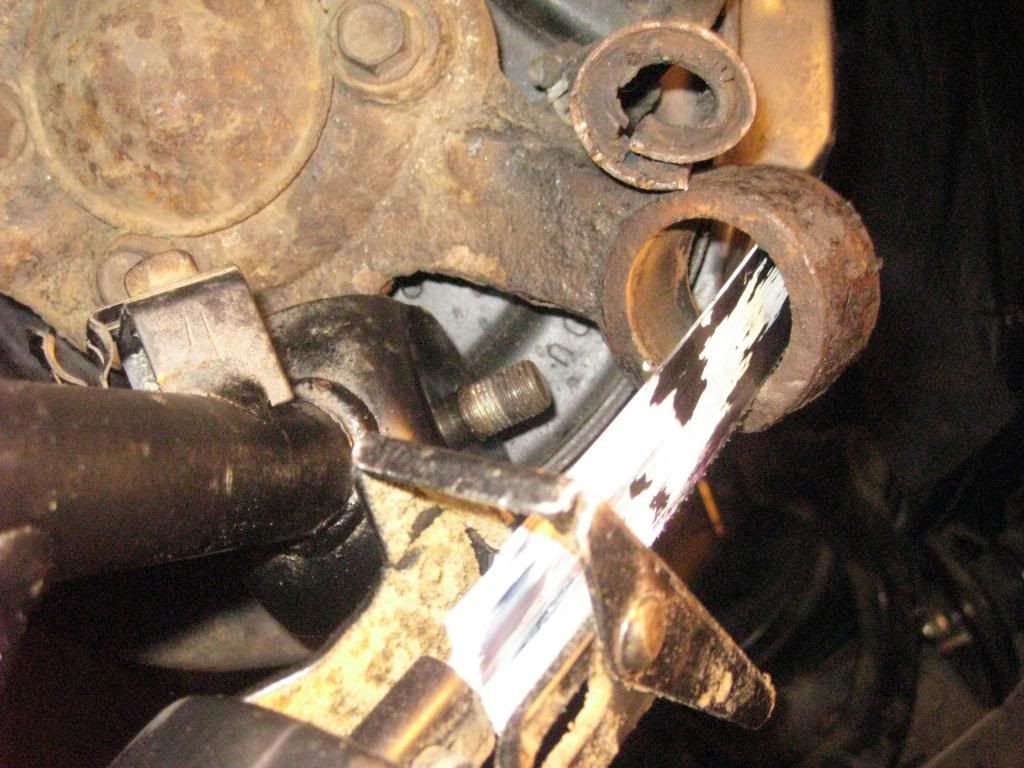 SOMETIMES it will be necessary to remove the bushing the old fashioned way. So after you heat the center sleeve out, you will need to work at it with a punch or a chisel 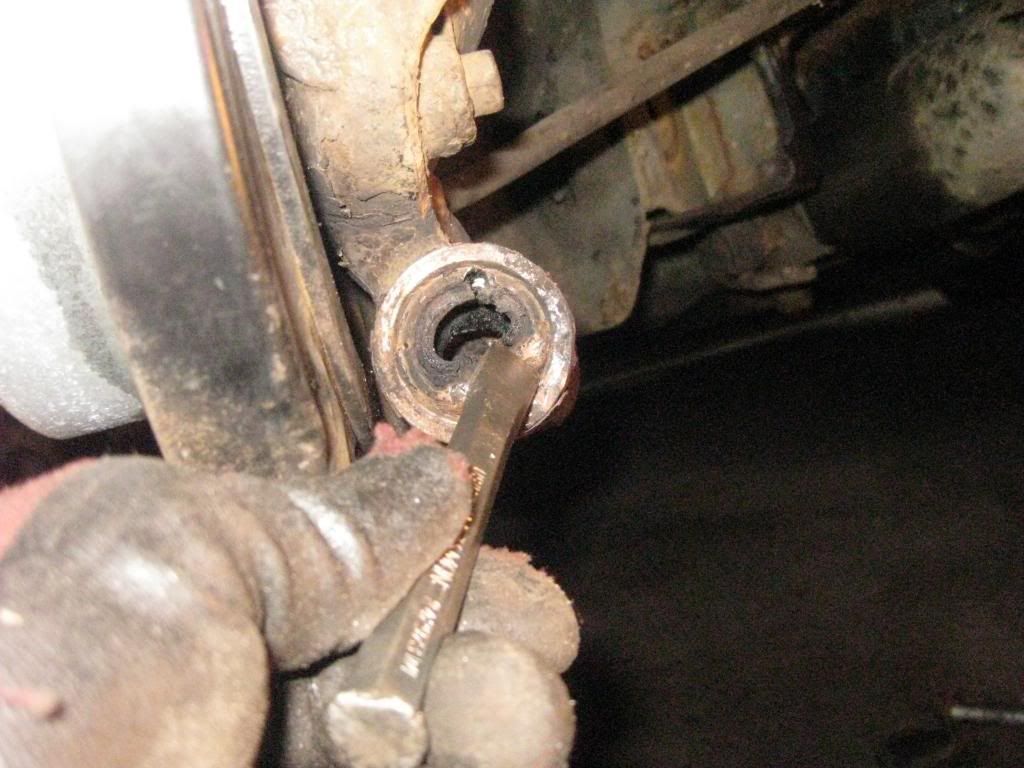 Not so much fun, but its just another way you may need to use to pull out the old bushings. But it does take A LOT longer. So, as I said, this was an after-thought pic session, I didn’t take any pics of putting those new bushings back in for those areas that I didn’t use the press. You are basically squashing the new bushings back in. You can use anything from vise grips to a c-clamps to even just pushing in with your hands. What ever works to get them in there. So let’s jump to all the bushings being done. Now you are simply bolting parts back on. These are all bolt-on replacement parts. The 3g parts directly replace the 2g parts (EXCEPT the sway bar. We will be getting to that next). So, without doing the bushings, we have a pretty simple swap of parts. Now for the sway bar. The sway bar is basically bolt-on except for one little item. Where the bar bolts onto the crossmember, you will need to make two 7/8†thick shims to hold the sway away from the lower control arm on each side (basically to match it to the stock position on a 3G. There is a 7/8†shim welded onto the stock 3G crossmember that the swaybar bushing bracket mounts to). This is the shim I made out of some aluminum stock I had kicking around (I never took a pic of just the shim, so here is a pic of it already mounted. You can see it painted black and mounted between the crossmember and the bushing/sleeve set-up); 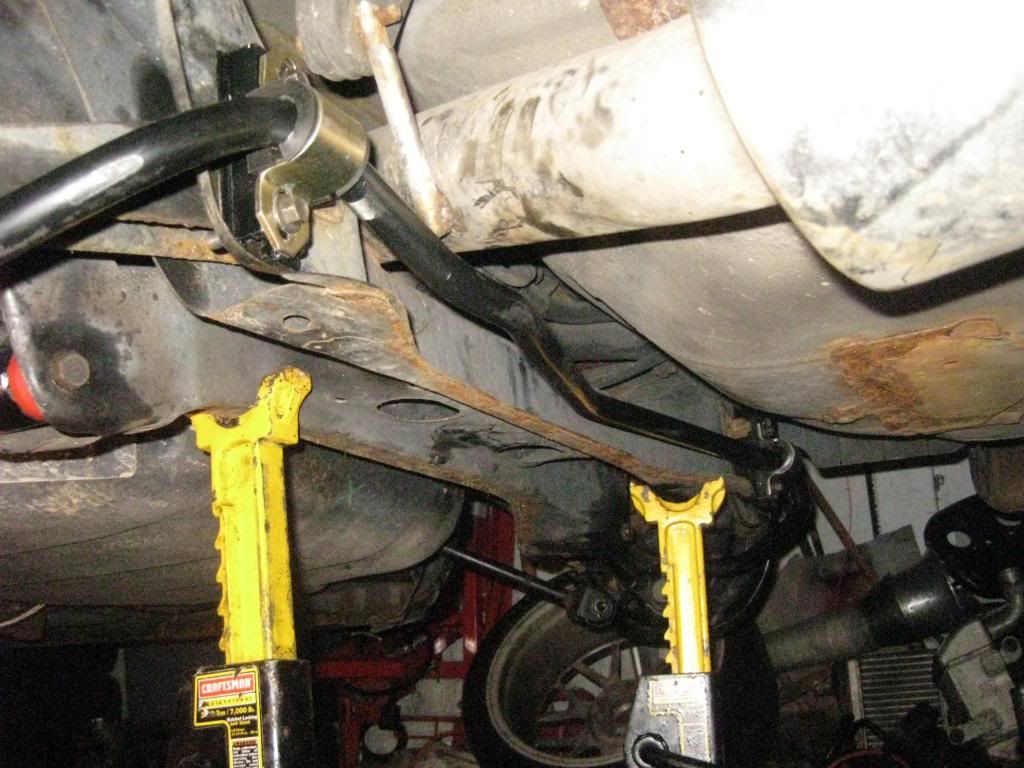 Now if you look closely in this next pic, You can see the mount holes are elongated; 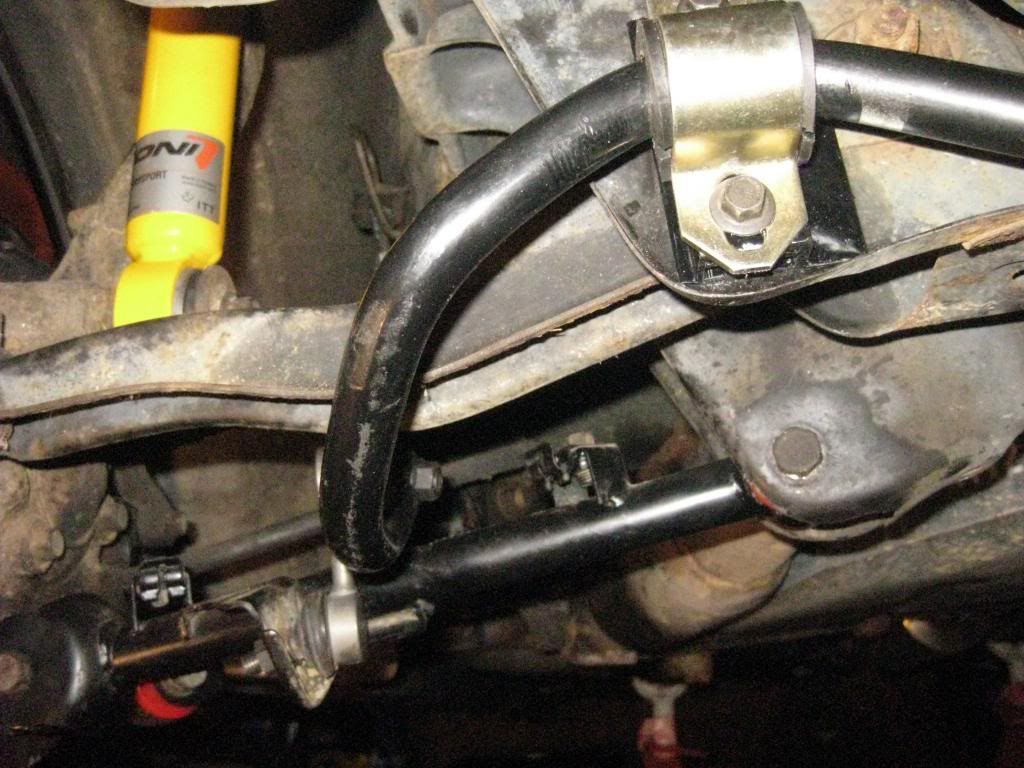 If you remember early on in this write-up I mentioned getting some poly bushings for the sways. If you buy poly’s, they will normally come with a bracket that has elongated holes. If you are trying to re-use the stock 3G bushings and bracket, you will have to elongate the holes yourself, so they will line up with the stock 2G crossmember. And there you have it. A stronger tubular suspension with a stronger/larger swaybar for, what could be, a very low cost. written by bullettdsm Suspension_and_Handling |
| Document statistics: Last modified on 2012-11-21 11:05:53 by bullettdsm |