How to Rebuild your OBX Differential.
As we all know the belleville washers in the OBX diff seem to be cheap and prone to cracking. They won't stop the diff from working if they crack but they will no longer preload the axle and things are likely to be very noisy...
These washers really need to be replaced. When I say they are poor quality I mean it... I have heard of them arriving DOA cracked all the way through. As in this case;

Brand new washers in a brand new unit. Came out broken.
I tested them with my 2lb sledge by smacking one of the originals and it broke on my first medium impact swing. I could even see the grain in the metal where it cracked! I tested a replacement by smacking it 10 times in a row with increasing force and only slightly bent it.
Here is a step by step process for replacing OBX belleville washers:
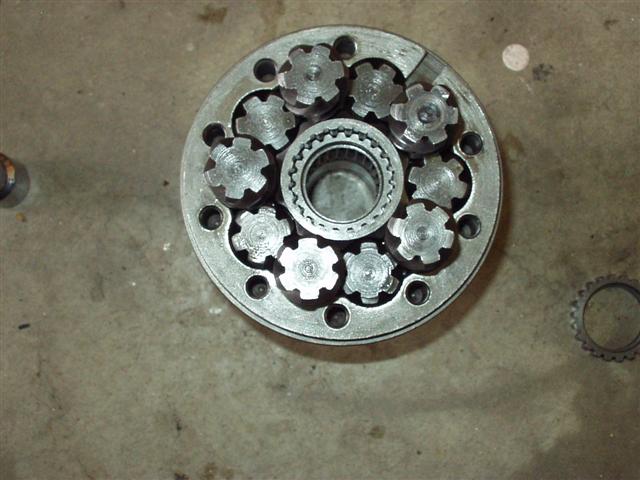
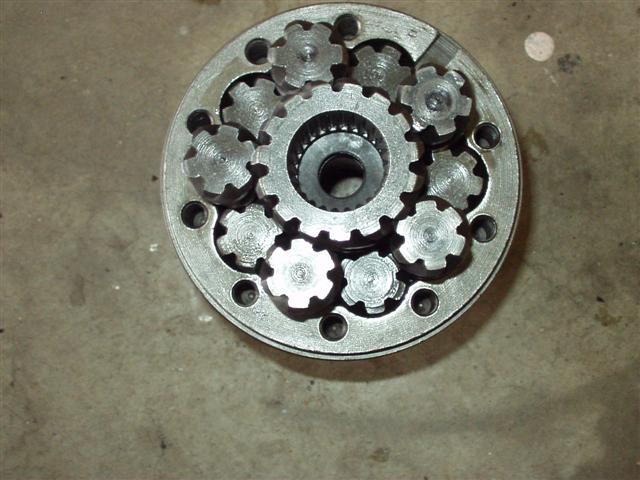
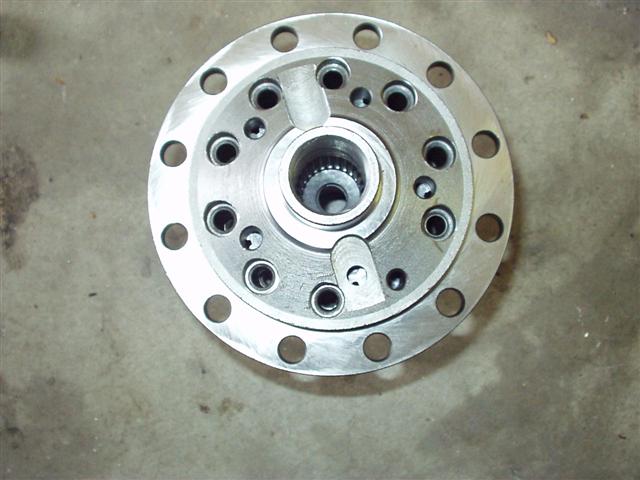
Here is a picture of the inside of the OBX with the upper worm gear, inner gears, and washers
disassembled:

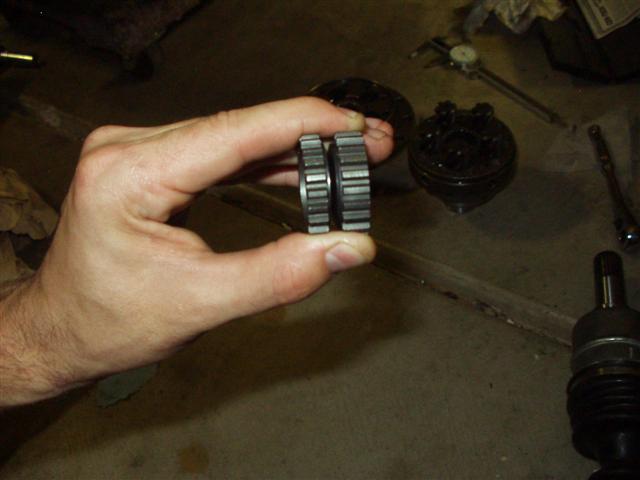
Step 1: Place the thinner of the two gears inside the center retainer.
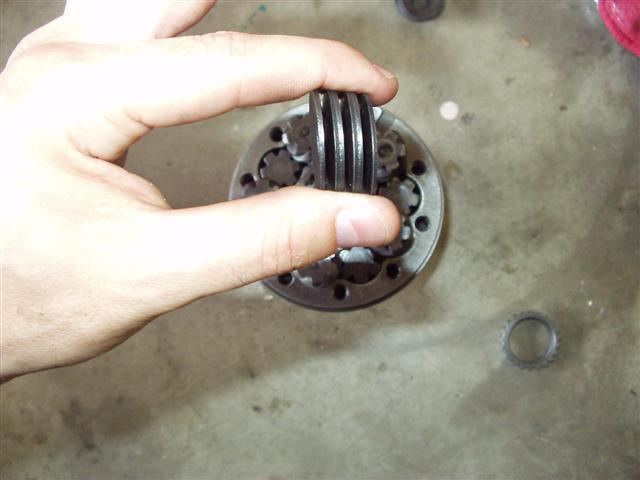
Step 2: Place the stacked washers inside of the gear. They should be stacked like this )()()
Step 3: Place the thick gear over the washers (it will stick up past the top of the inner retainer if assembled properly to provide preload).
If you are talented you can put them all in at once. They will fit inside of the gears like this (notice the preload is there because the two gears are held apart by the belleville springs):

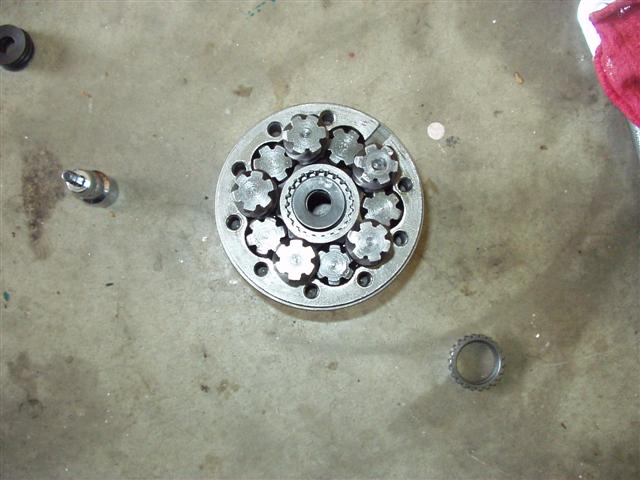
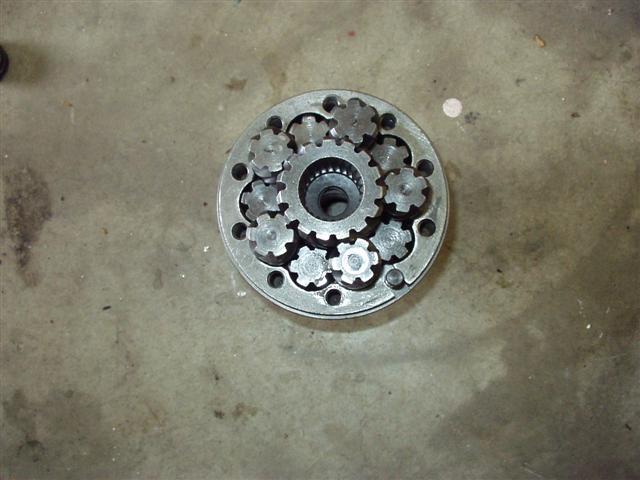
Step 4: Put the center worm gear back in.
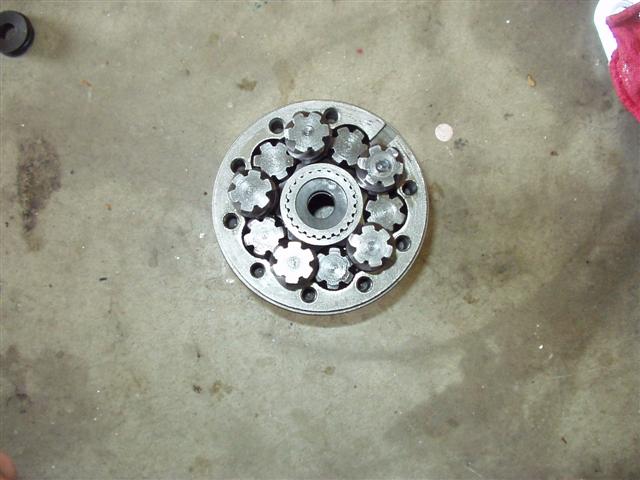
Step 5: Put the top back on the diff
Note the dowl pin...
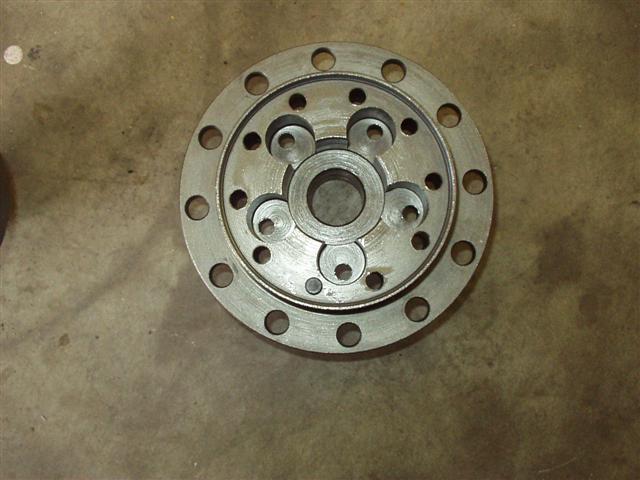
It aligns with this notch..
From the top it goes in the back side of the hole that is not like the others (around 5 o'clock in this picture)
Step 6: Put the bolts in and torque them down to 25 ft*lbs (lubricated with oil)
Some people have recommended tightening the M8 12.9 bolts tighter specs and some looser. I based this on a few sources:
dodgeram.org
dansmc.com
NOTE: Tightening bolts dry will increase the number by 20-25% so 25 lubricated is about 29 dry anyway and lubricated bolts will tighten much more evenly...
I suggest putting the diff in a vice. The side opposite the ring gear has a nice spot to clamp to on most of differentials. The Neon diff pictured can be held very securely this way.
Some people have experience axle fitment problems after pressing on the differential bearings. This occurs because the differential housing is made of softer metal than he stock diff. After the bearings are pressed on the holes are distorted. This can be solved by using a brake cylinder hone to enlarge the hole slightly if the axles are too snug. Like these pics illustrate;
A junk axle stub etc.;

Honing it out;

Fit after hone;

I also found that if you try a different clocking of the axle some fit looser than others. This should be fixed and remedied after the bearings are pressed on but before installing the diff into the tranny. I simply found a place where it fit loosely and installed the axle that way.
People also sometimes have a poorly tapped hole. I didn't but if you do just run
a tap through it to clean up the threads and you should be good to go.
FWD Washers should be stacked )()()(.
BTW: If you tear it down and wonder how it works I think this article By Dave Coleman of Sport Compact Car does the best job that I have seen of describing it:
SCC Quaife Article
Let me know if you have questions or comments.
If you can't source the springs out, you are welcome to contact me, rbryant, on this board.
|

