| LEXAN SUNROOF REPLACEMENT
For those that want to make it a little lighter up top. This obviously is not a functioning piece. I would consider it water repellant, not water proof. All the usual disclaimers; I’m not responsible/liable to any damage/safety issues that you might encounter. This is just one way that I did this and it worked for me. You may not get the same results blah, blah.
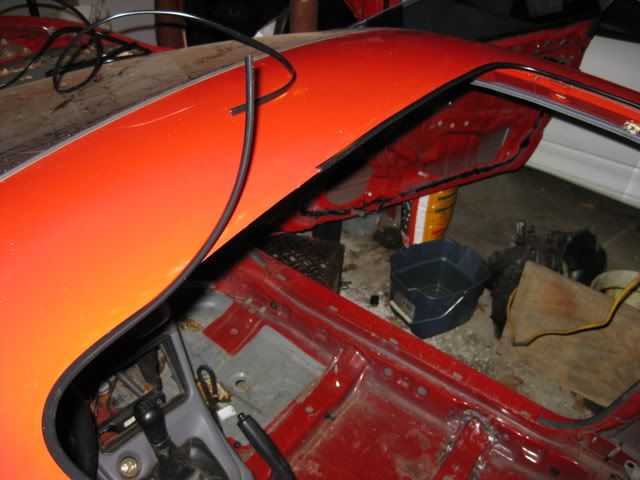
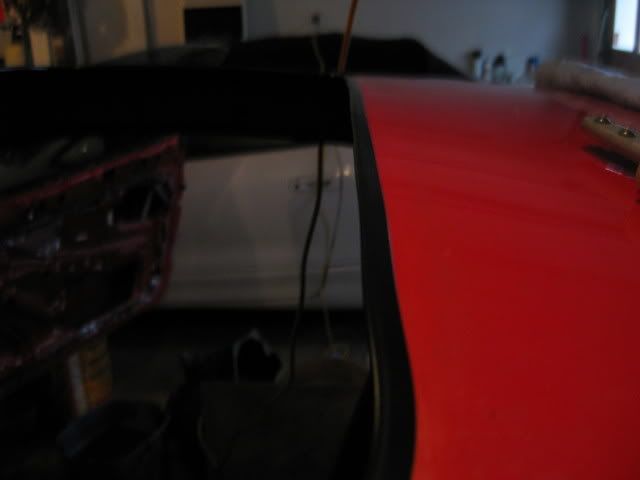
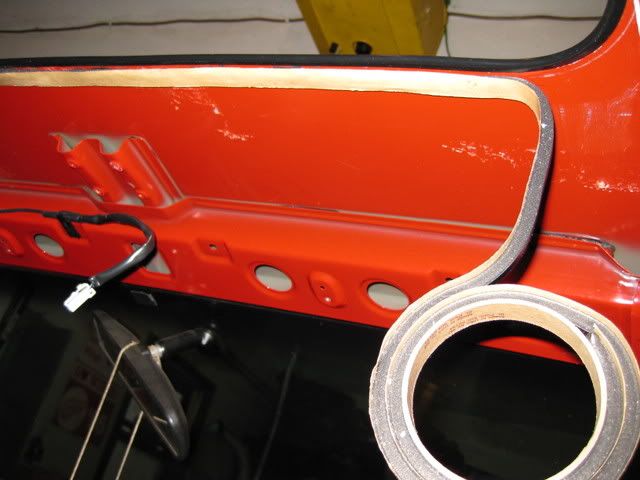
In my case I was replacing an aftermarket sunroof. So I took it out and was left with a big hole with a rough edge that I needed to address (if you are retaining your headliner, you would also have to address that through some form of glue or sticky tape). If you use door edging, it comes out pretty nice;
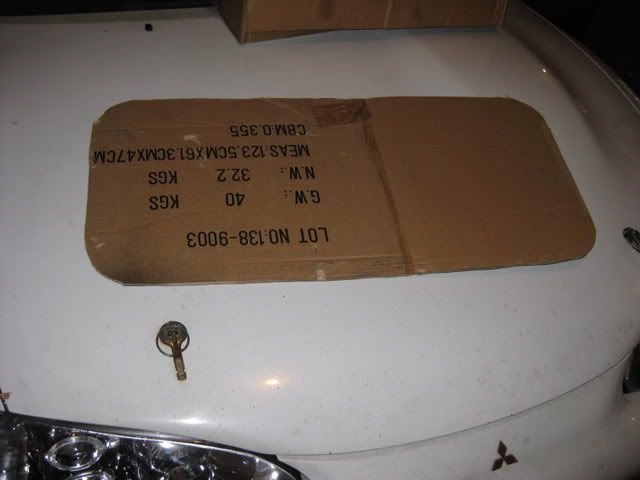
Now that my hole was complete, I needed to make a template for the Lexan. So I took some cardboard (I like to use a piece of posterboard for this. It works easier, but the cardboard worked fine) and taped it up to the hole;

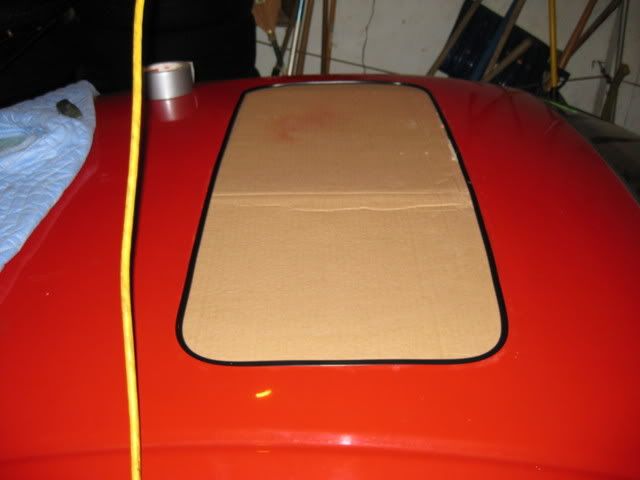
I then traced out the hole in the roof;
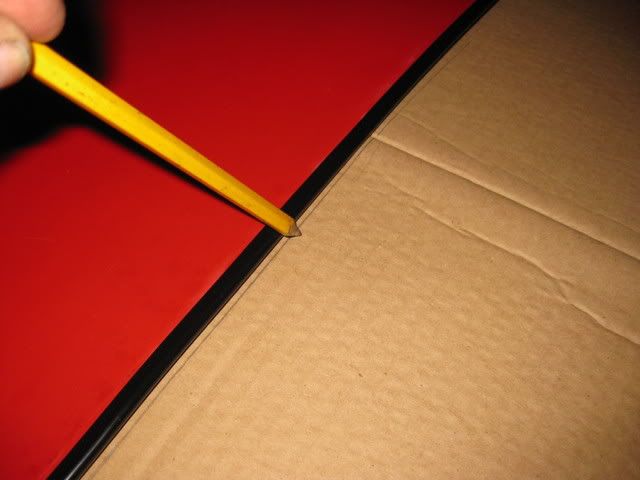
After I took it off, I then wanted to extend the diameter of my Lexan by approximately an inch (for inside attachment purposes). Generally people would use a compass of some sort to do this, but in the carpentry world, we make our own tools. Rudimentary, but fully functional;
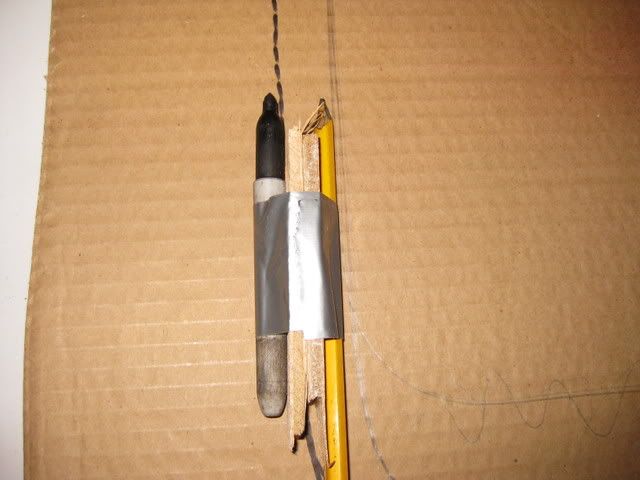
Now take your instrument and trace the line with one side while the other side maintains that inch (as seen in the above pic). Then cut out and you now have your template;
Take your template and cut out the Lexan accordingly (DO NOT REMOVE THE PLASTIC COVERING! This will be used as you go and it helps to keep the Lexan from scratching);
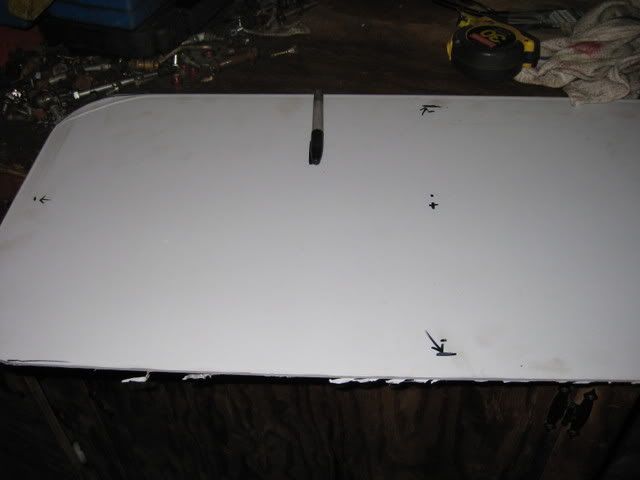
Don't mind the marks. they will be addressed later on.
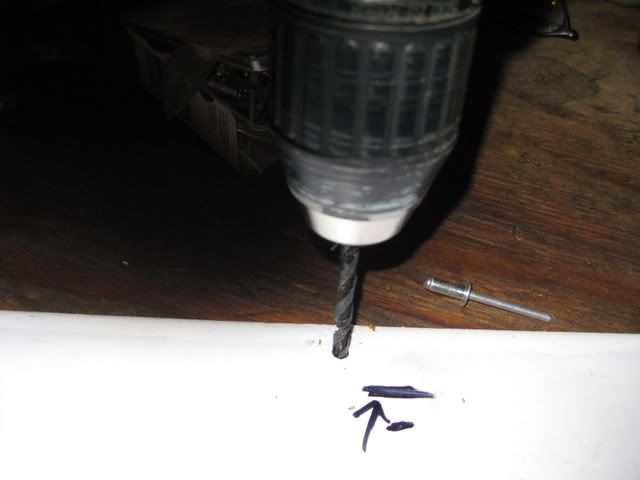
I then measured my center spots to start, and drilled them out (I didn’t get a pic of that specifically so I’m going to show a pic with the Lexan up there already). It looks best if you put your rivets at equal spots front to back and side to side (I used ½ long by 3/16 diameter rivets).
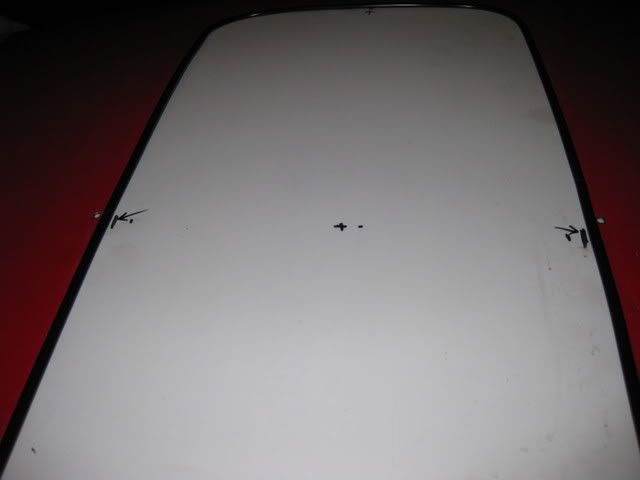
Now about those marks; make centering marks so that you will know it is in the proper position when you tape it up;
Now tape up your Lexan so that it is centered and in place (love that duct tape holding up the Lexan);
Make your marks and pull the Lexan back down so that you can drill the holes out;
If you are working with someone, you can just drill the Lexan while it’s in place (as your buddy holds the other side). I did this alone so it was easier for me to pull it back out than try to do the stretch and hold.
Now you are almost ready to rivet the Lexan in place (You can actually skip this next step. I like to do this for sealing and vibration purposes. It helps seal out water and keep the vibration transfer down to a minimum to avoid cracking).
Underneath the roof (between the metal and the Lexan) I put a sealant that I call “rope” lol. Apply it all the way around the edge and then pull back the paper;
I pick this up from a buddies shop, so I don’t really know where to get it (except maybe a glass shop) or what its actually called, lol.
Now pull the plastic off of the Lexan and rivet it in place using the two holes you drilled.
I used a #10 washer underneath after trying this with just a rivet for those two holes. I didn’t like the application of just the rivets. It covered more area by sticking the washers on the Lexan. Hence the reason for ½” long rivets.
I didn’t get a pic of this part either. You can see the underneath application later in the write up.
But now that you have the Lexan positioned, you start drilling and riveting all the way around. Start from the center then work side to side. Do not just go around in a circle, You will stand a chance of have “flexes” that way. I found that a good number to use was approximately 3” between each rivet. That allowed it to hold onto the metal without sagging.
When you get your rivets done you will have to go underneath to grind down the ends that are sticking out. Here is a pic of the inside with some of the ends ground and some of the ends still sticking out.
PUT PICTURE HERE
So, from the outside, it should look like this when it is done;
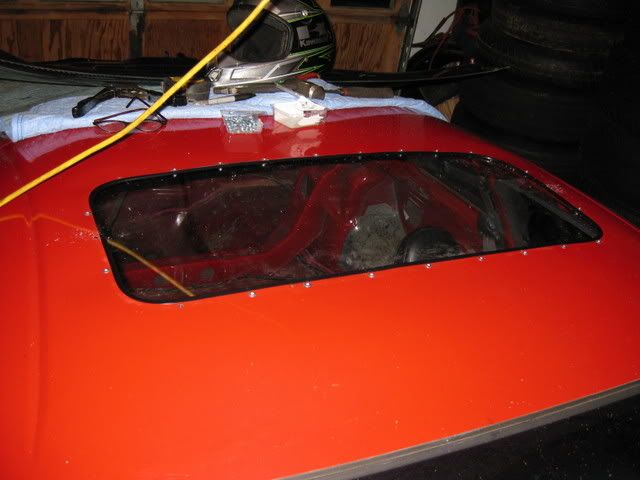
If you were to look close enough, you would see some slight dimpling where the rivets are (can't really see it in these pics). I tried a bunch of different combinations of various size rivets and washers but I don’t think that the dimpling can be avoided (not that its all that noticeable). Its just a product of the thinner gauge metal that our roof is made up with. You could, of course, make an exterior trim ring and that would solve the problem.
Also, you may want to extend the Lexan a little bit more. If you look closely at the black trim you can see it kinda pushed where the rivets got real close. I'm thinking that if you backed the rivets off, it would not push on the black trim.
Viola’ ready to race!
written by bullettdsm
exterior
|
|
Document statistics:
Last modified on 2008-12-25 12:10:02
by bullettdsm
|
|


